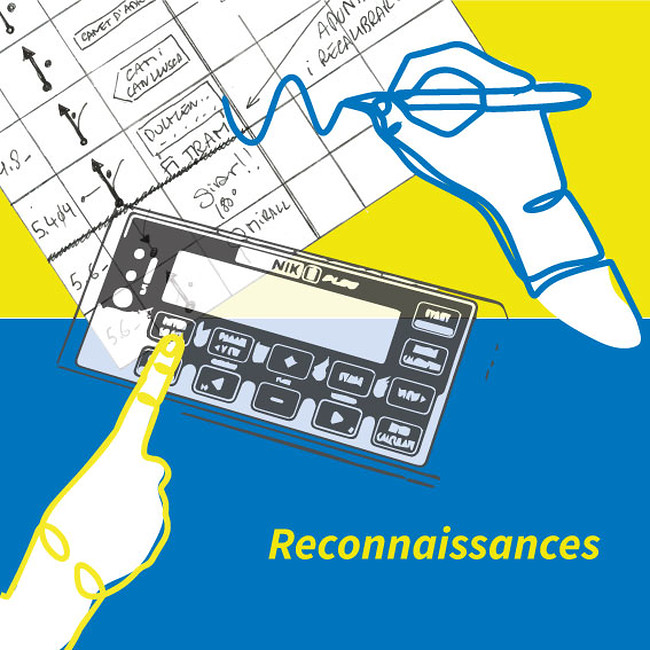
How to perform a ZR recce?
Make good distance references and take good notes.
Closed road regularity rallies are booming. In Italy and France there are many. These rallies take advantage of the effort to close the roads to do many tests, like regularity, sport regularity, classic speed and also modern car speed tests.
If you are someone who goes to this sort of rallies or if you’re someone who is considering it, in this post we’ll give you some advice to be able to perform ZR recces and take notes to compete in regularity.
1) Calibration
Calibrate according to the organization calibration and annotate your calibration number.
If there is no organization calibration, make your own calibration ZR and adhere to another rallies calibration number.
Calibrate before going to take notes. Remember to do this in rally conditions (because of tires, temperature, tracing on the right side of the road).
2) Take distance references
The first important reference is the ZR starting line. Maybe you remember it from last year’s rally, or the organizer can tell you where it is, but be aware because you never know for sure. On the day of the rally the commissar will plant the starting line where he finds it is convenient (he has the right to do so).
So, take as a starting line reference a point that will obviously be before the starting line expected for the day of the rally. The distance between the starting line you define and the real one of the day of the rally can be entered into the Blunik. OFFSET function. (You have further details in this other post).
Perform the tracing of the ZR on the right side of the road (doing it in the normal ZR style is not an option).
Start from an empty road-book, that is an empty grid where you can make a sketch of the vignette, a space for the total distance and a space to take notes.
Notice visual references easy to identify like road signs, mileage signs, paths. Avoid points that could confuse you like trees or houses.
Take note of the total distance referenced from your starting point. In regularity you don’t need partials at all! Always use total distances!!
Use the ZERO key to freeze the screen and annotate the total distance.
Quality is better than quantity. Approximately every 200 metres is a good relation. Too many would be stressing and could induce you to make an error. It is better to adjust metres well 3 times in a ZR, than to do it 25 times not so well
3) Adjust metres during the ZR.
There are 4 ways to adjust metres in a ZR.
+ key or – key and enter the distance you wish to add or subtract. Press ENTER and the Blunik will add/subtract the distance you want to adjust.
With the +10 or -10 keys. You can configure this to be +5/-5, +6/-6... according to the parameter. When you press the key it will adjust the metres immediately.
ENTER key. Enter a future distance and press ENTER again exactly when you pass the vignette (Only for Blunik II PLUS).
Road-book function (Only for Blunik II PLUS). You have more information on this in another post.
Perform recce with a street car or a rally car?
Both options are good. If you have a well identified calibration ZR this is not a problem. You calibrate and that’s it.
If you want to do it with a street car or a rental car you can use the external probe QUICK SENSOR which you can mount on any car in under 3 minutes.


